Well, it's been a long time coming, but I have finally finished my Steampunk Brass Goggles Mk I. These were the first pair of steampunk goggles I attempted. I stopped production on them part way through because I wasn't happy with where they were headed and began working on the
Mk II and
Mk III models, which I finished and sold a long time ago. I eventually went back to the Mk I and finished it as part of my Aethernauts LARP project, which also spawned the
Steampunk Phonograph, the
Steampunk Diving Helmet and
Bicorn Hat (among other things), which has oddly enough become the second most viewed post on this blog. Weird.
The Mk I was finished in the summer of 2011. It has since also been sold. Lets have a look at its construction. It began as a simple pair of green plastic welding goggles. The first thing to do was to disassemble them and sand and paint the parts with gold spray paint (my best approximation of brass at the time). Once painted, they were liberally decorated with
greebles. Here you can see one of the eye cups, painted and with a greebles made from a piece of thin copper tubing, some hex nuts and half of a snap closure.
I basically just started piecing together little bits of things from my junk drawer to see what would fit together. All the pieces were epoxied onto the plastic goggle frames.
Here are the lens retaining rings, also painted, with more greebles. These were made from more copper tubing, the other half of the snap closure, more hex nuts, some brass thumbtack heads and a couple of wire coil jewelry beads. As you can see from the photos, the paint job was pretty spotty. I also had trouble getting the epoxy to hold firm under stress. I eventually started drilling into the plastic to help set the pieces.
Around the eye cups I wanted to put leather trim. I had never attempted this before, but I had see it done on other pieces around the internet, mostly by drilling a lot of holes around the rim and sewing the leather onto the eye cups. I didn't have the patience for that. So I cut a strip of leather to go around each eye cup, dampened it a little with some watered down white glue, and stretched it around the edge, holding it in place with binder clips until it dried.
Once dry, it came off easily and held its shape. When I was ready to trim it and attach it permanently, I used a stronger glue.
The distinguishing feature of these goggles was the temple light. I first got the idea of having a small light of this style protruding from the rim and shining parallel with the lenses by a pair of goggles I saw in an
Invader Zim cartoon. I thought it was an interesting visual element that looked very futuristic. I found a small clip on flash light at Walgreens that would be perfect for something like this. I have since seen this same flashlight used similarly on many projects around the internet, including my own
MRX Designs prototype model FF-01 hand operated focused fluidic hydrolizing vector discharge personal defense apparatus but at the time it was new and hadn't been overused.
I disassembled the flashlight, and painted it gold (brass). I also added a little piece of red cellophane to the lens and some copper foil tape (used in soldering stained glass windows) to the body to give it a more interesting color scheme.
I cut off the stem at the desired length and angle and applied it to the goggle eye cup with epoxy. I fitted a hex nut around the base of the stem to give me more of a surface to epoxy to. In future applications, I will also drill out the stem and put in a metal pin or small screw from the back side to help give the connection strength.
Here is basically where I left them for several years. You can see a couple more greebles; a wire coil, a tube of leather with a piece of wire wrapped around it to cover the ball-chain bridge. I abandoned them partly because I didn't have the parts I needed to finish the strap. Also, I wasn't that thrilled with they way they turned out, so I just set them aside until I could come up with a way to rescue the design. That never really happened. When the Aethernauts project came up, I needed a couple of pairs of goggles very quickly, and didn't much care how they looked, so I hurriedly finished these off with a leather strap and some acrylic lenses.
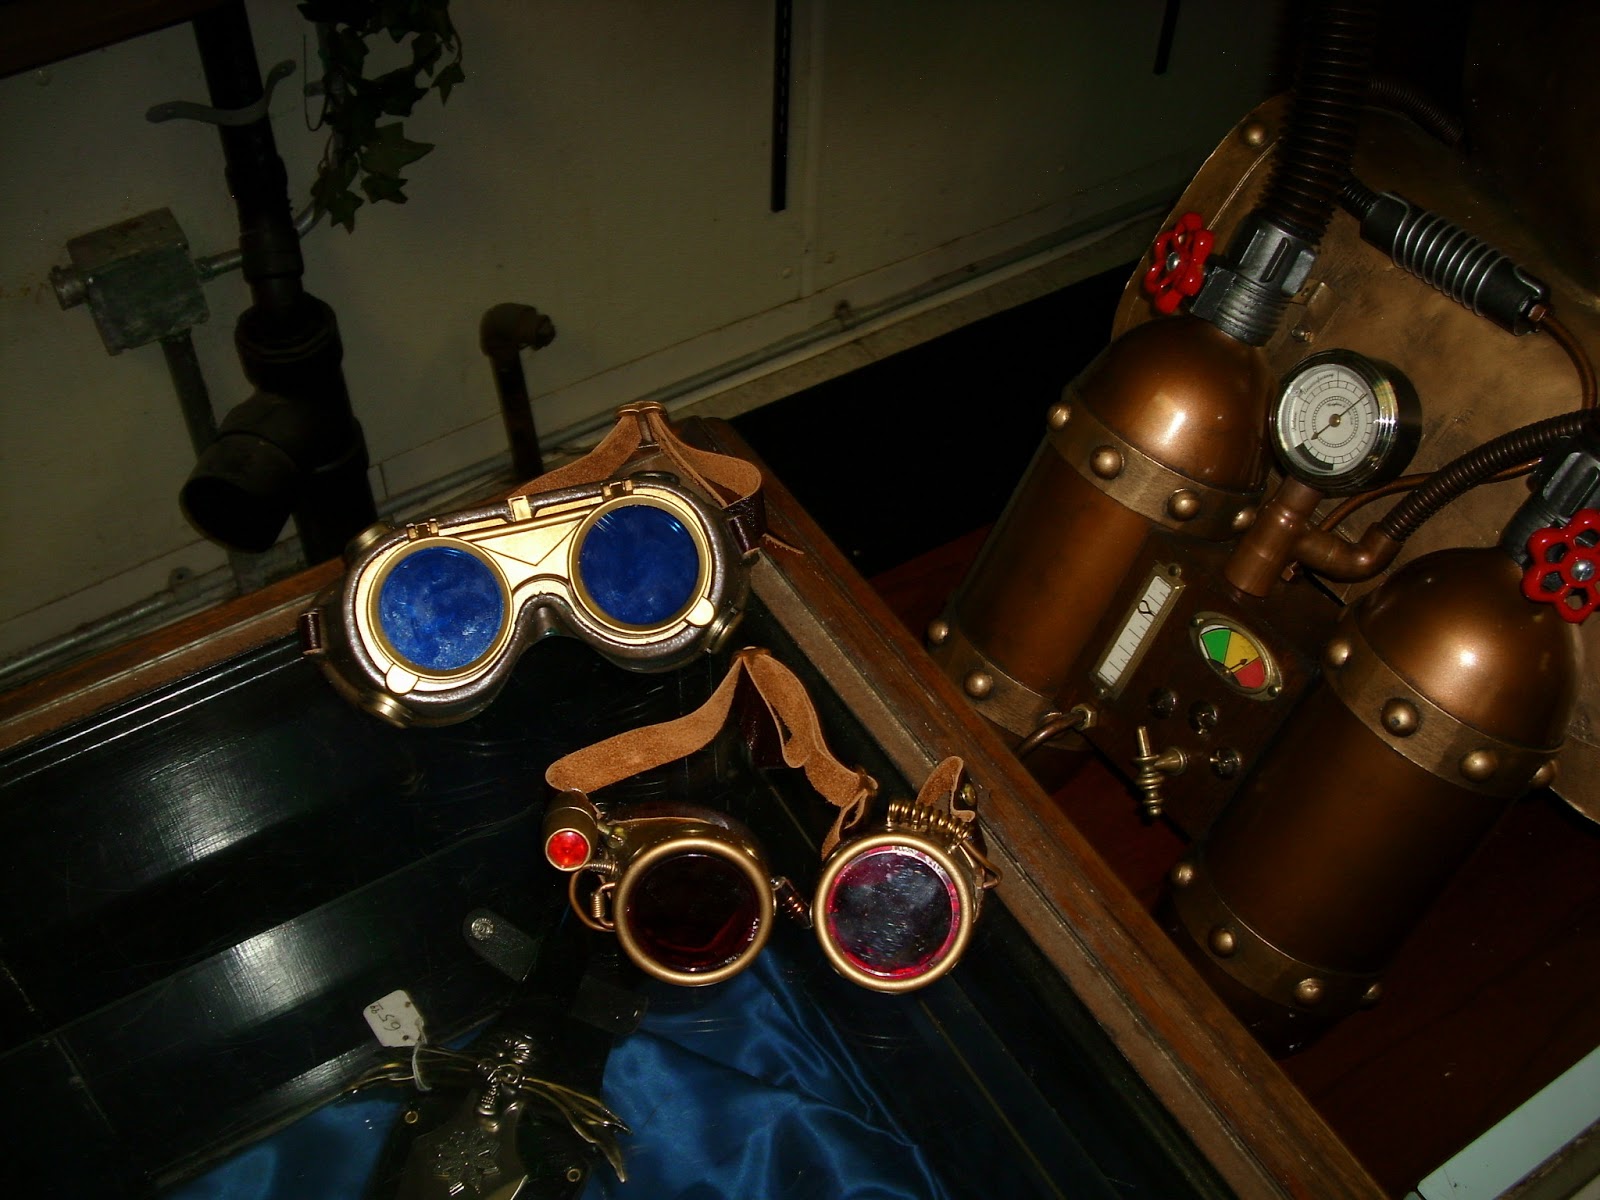
Here you can see them sitting beside the Mk IV, which are so slipshod and crappy they don't deserve their own post.
Both the MK I and Mk IV were sold in my shop after the LARP. As I am adding more Steampunk elements as well as Gothic Victorian elements to the shop's aesthetic, I will probably be making more goggles soon. Hopefully I have learned something from these early efforts.