
The first tool I made for myself to help with my wood working is this cross-cut sled for the table saw. It is large and simple, and it gets the job done. It hold the work piece securely and perpendicular to the blade for cross-cutting boards. It's also good for ripping pieces of ply-wood to keep them square. That doesn't sound like much, but it is a huge help and goes a long way towards improving the quality of work produced.


The cross-cut sled is nice, but it is big and bulky. I really only need something that big when cutting larger material. I also wanted a much smaller sled for dealing with smaller pieces. The first project I did with this sled ended up being small boxes for holding candles at my shop, so the sled got purposed into a box joint jig by the addition of a little wooden spacer glued to the bed. I will probably take the spacer off eventually, and make a few box joint jig templates with built in spacers of different sizes that can be interchanged to be used with this sled.


My lathe came with a 6" tool rest, that has a flat edge. I would prefer a rounded edge, so that the tools slide on it easier. I have already had to use a file on my tool rest, twice, to smooth out the top. The chisels keep putting nicks in the top edge, which makes them catch and not slide smoothly down the work piece. I also wanted a longer tool rest, so that I could rough out a typical wand blank in two passes instead of having to reposition the tool rest at least three times. I found a long round topped tool rest at a lumber yard tool center, but it was $50. Then one day I stumbled upon several 5' lengths of stainless steel 3/4" round stock that my dad had buried in the back of his workshop. I cut off a 10" length and welded it to a large bolt that was the right diameter and would fit into my tool rest stand. Huzzah! a $50 long round topped tool rest made for free from found parts in about an hour and a half. It would have been faster, but I spend a lot of time gouging out a flat indent on the round stock so that the head of the bold would fit into it and give me more surface to weld.


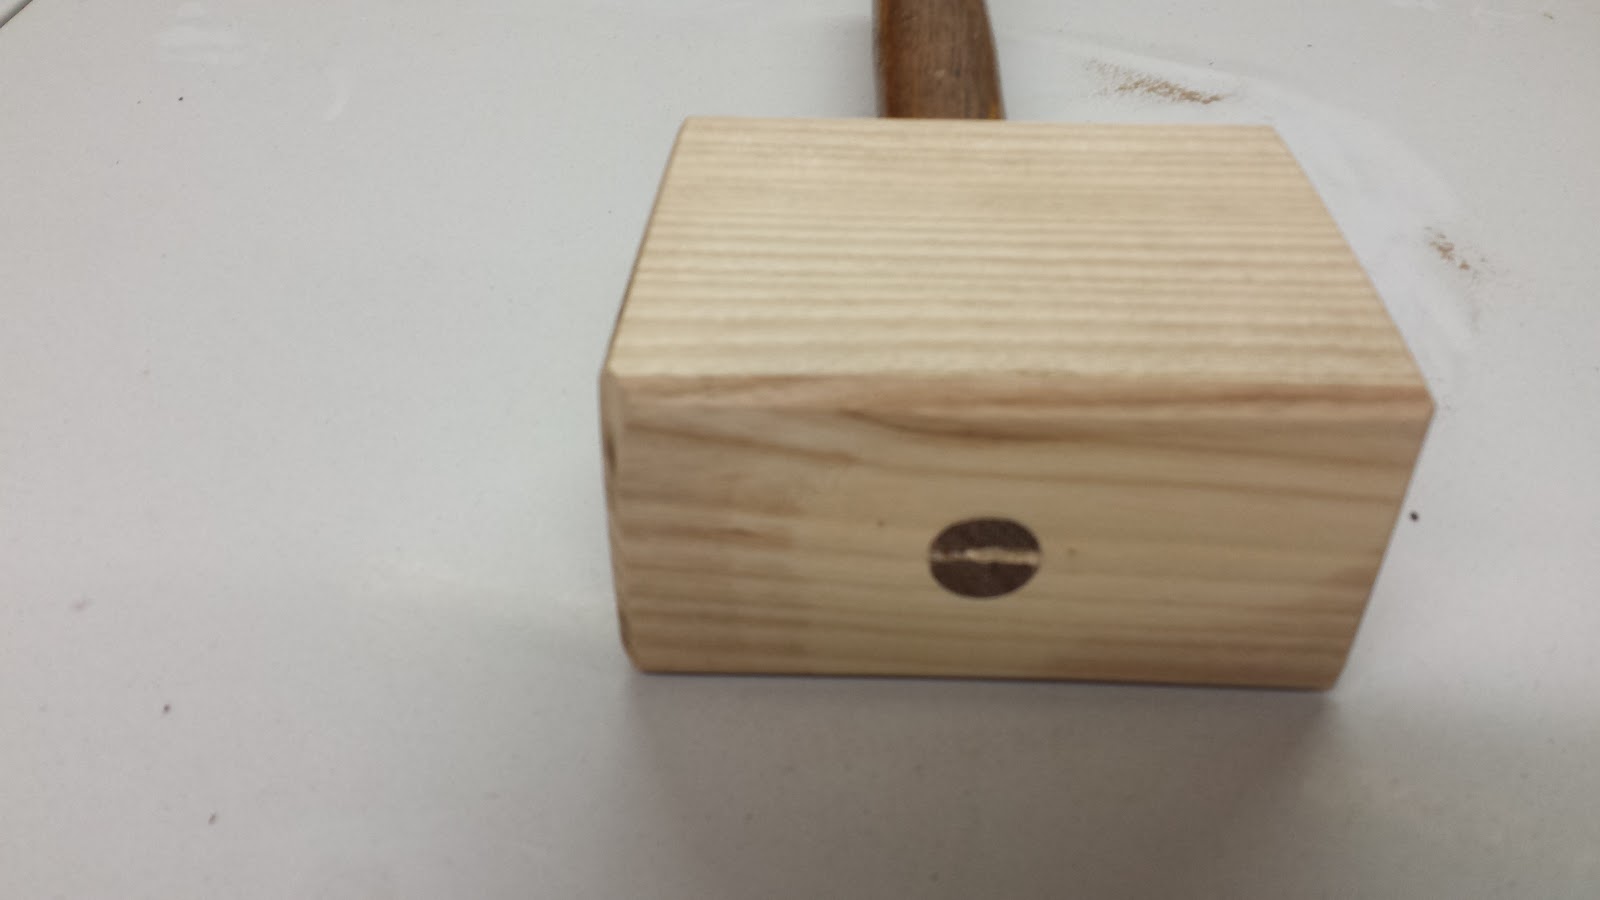
My most recent home made tool is a wood working mallet. There are a lot of times, especially when working with wood, when you need a hammer like object, but a regular hammer will mar your work piece. You can use a rubber mallet, but sometimes they just aren't hard or heavy enough for what you need. Enter the wooden mallet. There are several designs, each better suited for a specific job, but I like the square block style for a general purpose mallet, and if I find that I need one of those other styles, I can easily make them myself too.


I'm tempted to get out the dremel and carve some Nordic symbols on the side faces to make it look like Thor's hammer. Maybe if I get really bored some day.


No comments:
Post a Comment