I have a small workshop in the back of my store, which is where I make most of my props and tomes, and do things like
book binding and
pen making and
molding and casting. But recently, I've been expanding to fill a much larger shop that was left fallow with my father's passing a few months ago. His workshop is much larger, and it is where he would work on cars and where I did most of my wood working projects,
like the lighting rig I made for Rogue Cthulhu. Now that my father is gone, I am slowly shifting the focus of his workshop (which now belongs to my mother, but she has no use for it) from vehicle repair to wood working. To that end I have been making small improvements to the facilities and tools that he had and some which I have brought into the workshop.
The table saw sleds would be a good example of that. Since I finished my first batch of wands, these upgrades are where I have been spending my free time. So, here are a few more.
For as long as my family has owned this building, we have had sheets of drywall, plywood and other sheet goods stacked up against the wall right by the garage door opening. When sheet good stocks were high, it made pulling into the building with a car a bit of a tight squeeze. So, I decided to move these materials farther into the shop and store them in a custom sheet goods rack that I added onto the end of a loft space, where we currently have lumber stored. Here are a few pictures of the construction of the new rack.
 |
| The empty space at the end of the loft, where I will build my rack. |
 |
| 2x4 frame for the base |
 |
| Base frame covered in plywood. |
I created a platform for the sheets to sit on so they would be
off the floor. I also made the platform about three inches shallower
than the 4 foot wide sheet goods, so that there would be a lip to grab
to make it easier when pulling items out of the rack. You can easily get
your fingers under the front edge to pull them out.
 |
| The first row of uprights anchored to base and ceiling. |
I wanted to make sure no nail or screw heads poked up that would catch
on the sheet goods, like drywall, and mar them while they were being
loaded in or out, so for the rack's construction, I used a crap ton of
pocket holes and deck screws, instead of toe-nailing the boards
together. I had also just bought a new pocket hole jig and wanted to try it out ;)
 |
| Slats on the back wall for anchoring, and so sheet goods don't hit the drywall. |
 |
| The back half of the bays are now assembled. |
Each bay is 10 inches wide, except the last one on the right. It is 11 inches. It just worked out that way. The last bay on the right is also split into two bays, upper and lower, for use with half sheets and smaller cut offs. I made the split 61 inches up from the base. That makes the lower bay tall enough for 5 foot tall pieces, and the upper bay big enough for 4 foot tall pieces (total ceiling height is 10 feet from concrete to drywall).
 |
| Note that the bay on the right is slightly wider, and it is split half way up. |
 |
| Almost finished... |
 |
| Finally! Man, that was a lot of pocket holes. |
And here it is finished and in use.
I plan to make another section added on to the end of it (where the ladder is sitting) which will hold pole-like items, like conduit or metal or PVC pipe. I will store them standing upright, in several bays, the way they are stored in the hardware stores.
But Wait, There's More...
I've been working on tuning up the long neglected woodworking tools in my father's shop, which includes sharpening the chisels and hand plane blades. Sharpening is something both my father and I royally sucked at, but I've been watching YouTube videos trying to improve my technique, and experimenting with new jigs for sharpening. One of the jigs I wanted to try is a strop (polishing) wheel made from MDF and charged with polishing compound. If I mounted an MDF disk to a face plate, I could run it right on my lathe.
But I only have one commercial face plate and I will need more than one polishing wheel with different compounds on them. Fortunately I can make as many face plates as I want out of wood with this handy dandy spindle tap.
To start with, I will need a block of wood. A scrap of 2x4 from the cut off bin will work fine. First I'll square it up on the table saw, than I will take out any cupping in the board with the belt sander. I need the faces to be nice and flat and parallel to one another.
Then I'll mark a line form corner to corner and indent the exact center with an awl before boring a 7/8" hole with a forstner bit. The spindle tap is 1", so I need my starting hole to be slightly smaller than that.
But before I can tap the hole, I need a way to keep the tap nice and straight while I get it started. For that I will make a quick jig. I glued two of the scrap blocks together and drilled a pilot hole all the way through directly in the center. Then I widened that hole on one side to be big enough for the widest part of the tap to fit up into (1.25"). This large hole got drilled almost half way through the glued blocks (deep enough for the tap head to fit all the way in). Then I flipped it around and drilled from the other side and made the hold the same diameter as the shaft on the tap. This will hold the tap nice and straight.
Now I just needed a handle, so I could turn the tap while at the same time, applying a little downward pressure. This was made from another little 2x4 scrap that I chiseled a square hole into, so that it would accept the square end of the tap shaft.
Then I held my face plate -to-be in the vise, and setting the jig flat on the surface, I started the tap in. Once it was started in a few turns, I could take the tap out of the jig and just screw it in by hand. I would have to do this at some point, because the jig is too tall to let the tap cut all the way through my face plate. Before cutting with the tap, I soaked the inside of the pre-drilled hole with some boiled linseed oil for a few minutes. This lubricates the tap and softens the wood prior to cutting.
With the face plate for the lathe made, now I needed an MDF disk to mount on it. I started with a recycled MDF shelf and cut it down to roughly 10 inches square with the miter saw, and then the table saw.
Then I found the center by drawing diagonal lines from corner to corner,and with a compass, I drew a 9 inch diameter circle. I cut out the circle on the band saw.
The surface was already painted, so I had to sand the paint off. The fronts needed to be completely sanded off, but the backs just needed the center free of paint so that the face plate could be glued on.
I used a center finder jig to locate the center of the disk and eye-balled placing the face plates. I attached them with wood glue and some screws.
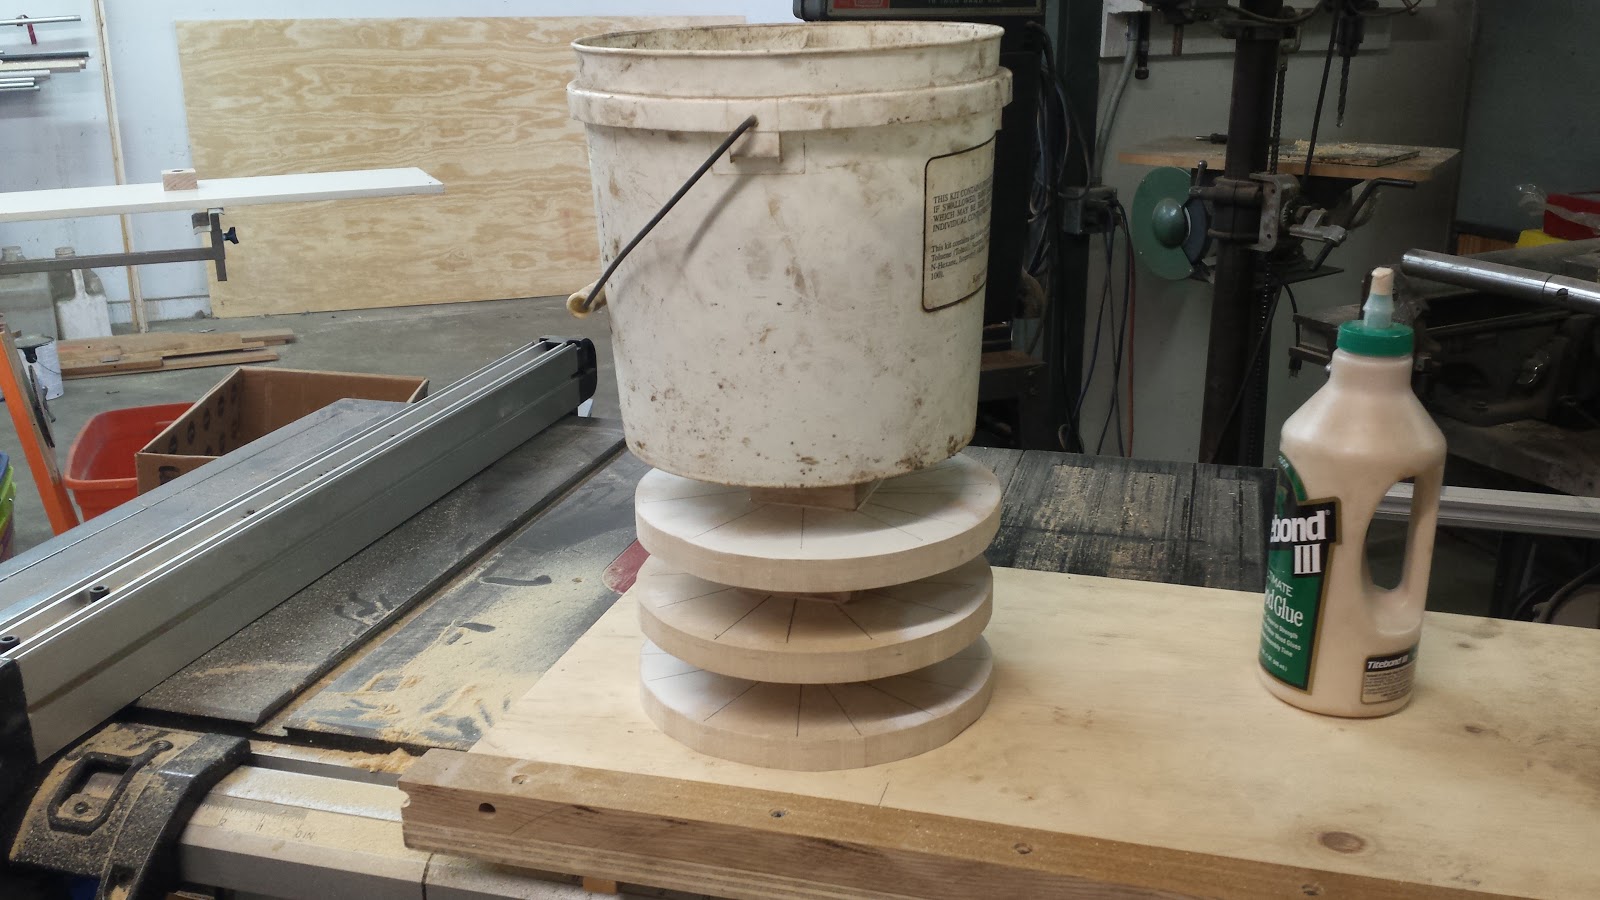
Now I could mount the new polishing disk onto the lathe spindle. It would need the face and edge trued up with some chisels and sand paper before I could use it for polishing.
With the disks trued up as good as I could get them (they were still not perfect), I charged the disk by rubbing some brown tripoli polishing compound onto the face and edge. Then I turned on the lathe and tried it out on one of the old chisels, which I had sharpened with wet/dry sandpaper on a sheet of glass a few days before.
Exciting stuff, yes? I know, you couldn't care less. I'll get back to making tomes and props eventually. Probably. If I'm around. You never know.
UPDATE:
Just in case anyone cares (really, I know you don't), I did make a few modifications to the MDF disks from what you see above. They were a little wobbly when running on the lathe. To combat this, I spun them on the lathe and used a gouge to take off the corners of those square mounting blocks, as best as I could without hitting the screws. This improved the balance considerably. Then I used a parting tool and a scraper (turning tools) to "true up" the face of the MDF disk. Also, a sanding block was helpful in that respect. After a little time and care, now they run much more true and balanced (no wobble or vibration). I made four more of these disk assemblies, and on my second batch, I turned the square mounting block round on the lathe after cutting the threads, but before gluing on the MDF. I also trued up the face of the block a little before gluing on the MDF. I decided the screws were overkill, and just used glue to attach the MDF on the second batch of disks.