Showing posts with label Dust Collection. Show all posts

Saturday, January 28, 2017

Dust Deputy

More shop improvements. Until now, the table saw was connected to a very old and somewhat crappy Craftsman shop vacuum. It did a barely adequate job of dust collection and its joke of a filter clogged laughably quickly. Still, it is the only tool in the shop that had any kind of dust collection.

I recently purchased a small plastic cyclone separator (the Oneida, Dust Deputy) to turn it into a two-stage unit. The purpose of a cyclone is to separate out as much of the sawdust and wood chips from the air stream as possible before it gets to the filter. This makes for cleaner air, longer lasting filters and better air flow. However, converting it would take a little modification and a fair bit of fabrication.

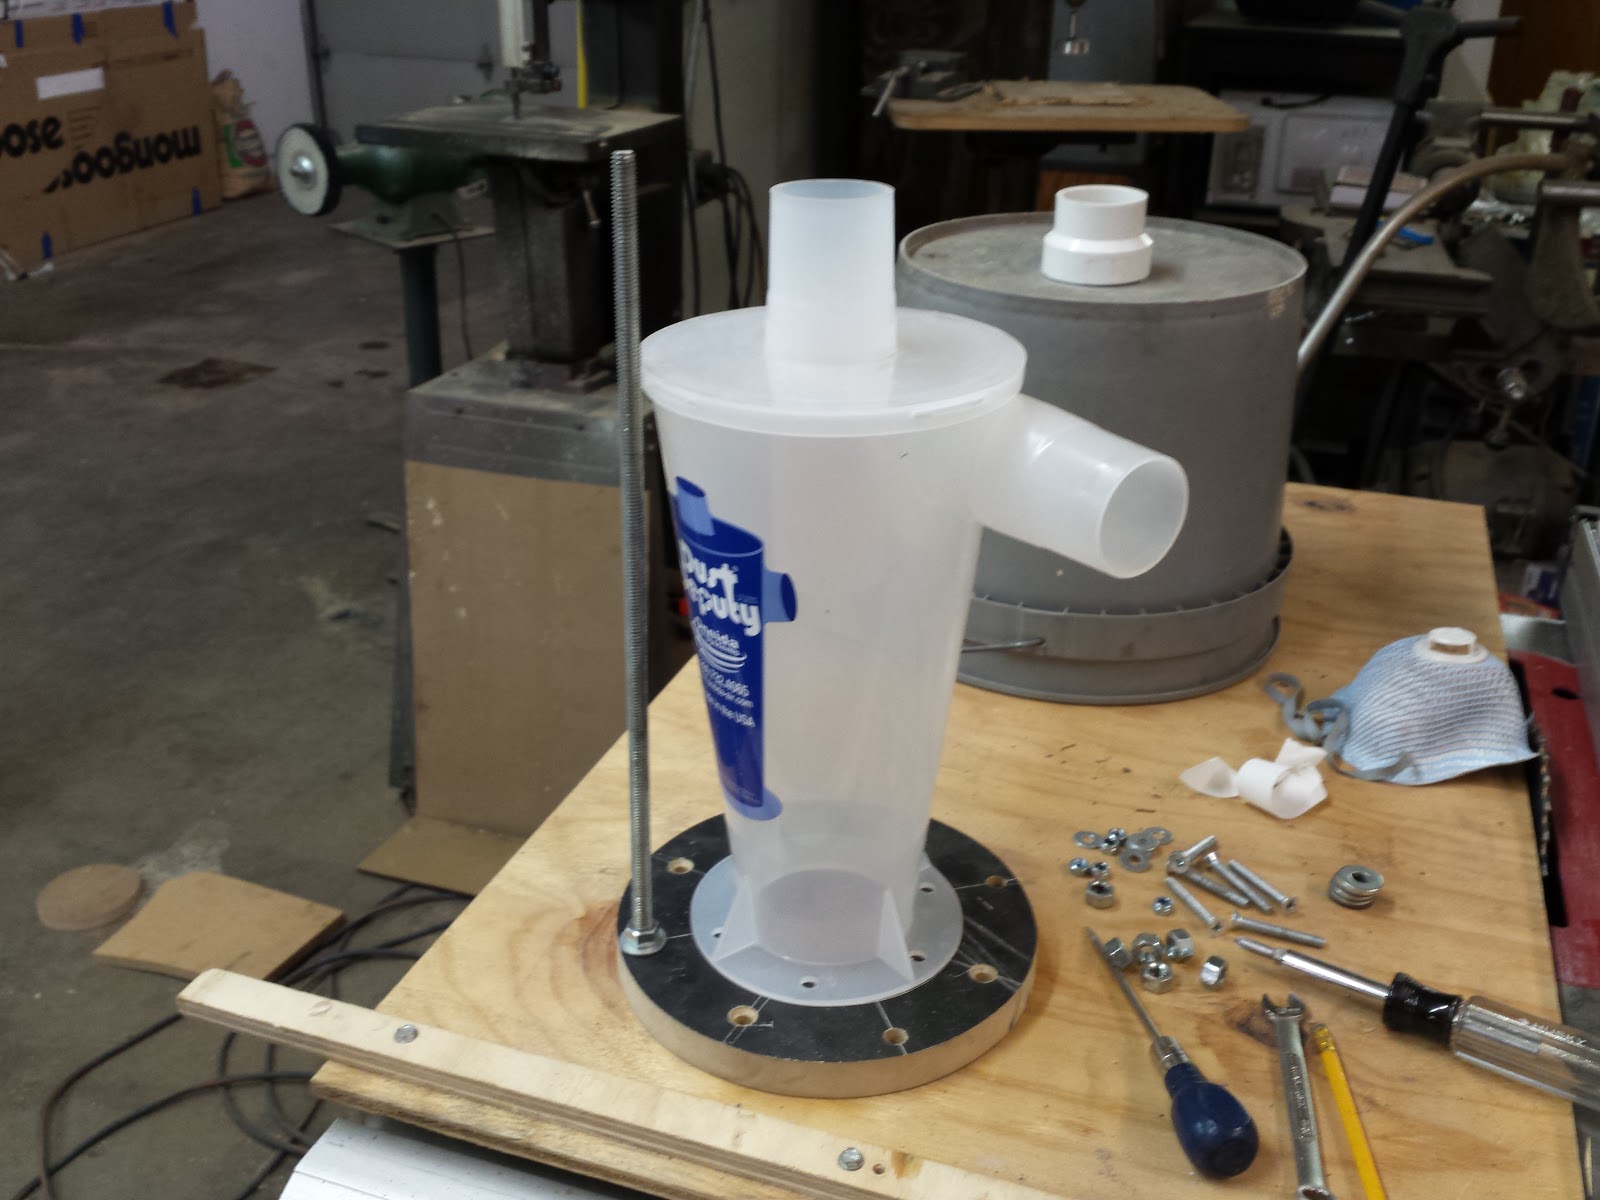
Unless you buy one of their rather expensive kits, the Dust Deputy does not come with any accessories, gaskets or hardware. What you get is a molded plastic cone with an air intake on the side and an air outlet at the top and a mounting flange at the bottom. That's it. A single piece of molded plastic, and it costs about $50. That means I will have to find my own way to connect it to my shop vacuum system.

I started by removing the motor from the lid of the main dust canister of my Craftsman vacuum. The lid fits the canister with an air tight seal, and it has a hole in the top (where the motor mounted) which is just about the right size for the Dust  Deputy's mounting flange. Unfortunately, it is not centered, and there are some other issues that prompt me to make my own flange out of MDF. My MDF flange attaches to the metal canister lid with four bolts and an EVA foam (2mm craft foam) gasket. The Dust Deputy attaches to the MDF flange with six bolts and another EVA foam gasket. I also had to plug up the old air intake hole in the metal lid with a piece of luan.

Next I turned toward the motor. I took the housing off the motor and removed the old crappy filter bag and cage. I planned to replace it with a high efficiency aftermarket filter for shop-vacs.

Since the motor used to mount directly to the canister lid, I would now need a new housing for the motor and filter. It doesn't need to be very big, because the bulk of the sawdust will go into the main canister out the bottom of the cyclone separator. Only a little very fine dust will make it to the filter and motor. A three gallon bucket with nice ridged walls (it will be under vacuum) and a lid will make a fine housing. This too required a flange to be fabricated, as the plastic bucket lid was far too flimsy. So I made a flange out of hard board on the top and a ring of MDF on the bottom and bolted them together, sandwiching the bucket lid in between. The hardboard was screwed into the motor mounting holes and also the MDF ring grips the bottom of the motor, around the impeller and acts as a backstop for the filter.

I got lucky in so far as the bottom of the bucket had a little ring molded into it at the center, which fit just perfectly into a PVC reducer coupling. The other end of the coupling fit perfectly onto the Dust Deputy's air outlet. I cut out the bottom of the bucket in the center of the ring and fit the coupler between the bucket and cyclone. I could have just cut the hole and pushed the cyclone's air outlet pipe directly in it, but I was worried about getting an airtight fit.

At this point, with the motor wired back up, the system was functional, but the whole affair was wobbly and top heavy. It needed more support. Still, I took this opportunity to do a test. I sucked up a mess of sawdust with it to see how much dust got past the cyclone, and to make sure the system was airtight.

As you can see from the pictures above, nearly all the sawdust ended up in the main canister under the cyclone, and only a small amount of very fine dust ended up in the bucket or on the filter. Even this short test generated a significant amount of static electricity from friction between the sawdust and the cyclone. In the near future, I will need to add a ground wire to the system to prevent static buildup.

I disassembled the unit and set about making a support structure. This support structure was made from 3/8" threaded rod, four sticks of it, each about 16" long. They would bolt through the lower flange where the cyclone mounts to the canister lid, and again through an upper flange that the bucket will sit on, taking a significant portion of the weight of the bucket and motor off of the cyclone itself, and providing a wider, more stable base.
And that's it! A working two-stage cyclone separator shop vacuum. Aside from that one test, I have yet to put it to use ( just finished it a couple of days ago). It will likely get re-attached to the table saw, and may end up doing some general shop cleaning, until I get my big centralized dust collection system installed. Then it will get used like a regular shop vac, as the table saw, and most of the other machines, will get connected to the centralized system. But that could be quite a while yet before that system is installed.
 It is still a bit tall and ungainly, but that is the price you pay for efficient dust collection.

Thursday, October 27, 2016

Shop Cart Air Cleaner

When doing woodworking, air purification becomes a big deal. Go on YouTube and look at any of the woodworking vlogs and you will see that even hobbyist woodworkers go to great lengths to control the dust in their shops. Here are some examples.
April Wilkerson
Jay Bates
DIY Tyler
Matthias Wandel

I have barely done any woodworking as of yet and already the dust levels in my dad's workshop are becoming intolerable. Unfortunately, most dust collection and air purification solutions are rather costly, so you see a lot of people going the DIY rout.

I tried using the 20x20x1 furnace air filter taped to the back of a box fan scenario, and while it did capture some dust, it was just too inefficient. I have seen several variations on this theme that claim to improve efficiency by creating more filter surface area, and thus more air flow. So I thought I would give that a try. But I didn't want to make a large box that would take up valuable floor space. I thought about hanging it from the ceiling, but that seemed like a lot of effort. So I decided to build a box out of the wheeled parts cart that we already have in the shop. We never use the lower level anyway, so I could just box in the lower level with air filters and a box fan and create a movable air cleaner cart that doesn't take up any more room than was already being used.
First I had to measure the cart to see what sized air filters I would need. I concluded that things would fit just about perfectly if I used a 25x25x2 inch filter on the front, a 16x25x2 inch filter with a 16x25x1 in pre-filter on the one side and a16x25x1 inch filter with a 16x16x1 inch pre-filter on the other side. I would have liked to use two inch thick main filters with one inch thick pre-filters all the way around, but the math didn't work out that way.
 When I say pre-filter, I mean those really cheap blue fiberglass air filters that are not pleated. They don't catch much (something like 50%) but they don't impede air flow much either. I am hoping that they will catch the big particles before they get to the good filters, hopefully making the good filters last longer. And by good filters, I mean the $3 economy brand pleated filters. I'm not paying $10+ for a HEPA filter. I'm far too cheap for that.

 The filters fit like a glove. I just needed a small wooden spacer at the bottom to hold them up, because they were just about an inch short, but I'm working with standard sized filters, so I had to take the closest thing I could get. I sealed the edges with some masking tape, which will cut down on air leakage, and help to keep everything in place.
 The filters went in very quick and easy. The fan was going to be a little tougher. I'm using a super old box fan. It's probably from around the late 1960's. I took off the covers and gave it a rudimentary cleaning as it was already covered with filth. I also took this opportunity to re-rout the cord to come out the front grill instead of the back.
 I attached two strips of scrap wood to the bottom of the fan, with a gap that would fit over the lip of the bottom shelf of the parts cart. This would help keep the fan stationary. I attached these with some 2P-10 CA glue. It doesn't need to be terribly secure. Who knows if this thing will even work. Until I assess its effectiveness, I'm not too concerned about making this thing a permanent fixture.
 I used the same CA glue to add a strip of wood along the top of the fan. This would fill the gap and jam the fan under the top tray fairly snugly. I added two tabs to keep it from pushing in too far.
 This left me with just a small gap on one side of the fan that I filled with a piece of cardboard and some masking tape.
 I couldn't find a 25x25x1 inch pre-filter for the front, so I bought a roll of the fiberglass filter material and cut off a piece. I attached it to the front of the cart with masking tape around the edges.
All the parts were already in the shop except the air filters, which cost me about $20 total. The whole project took about an hour and a half to build. I turned it on and it seems to work. It will take me a little while to assess its effectiveness at cleaning the air, especially since I don't have an air quality meter. I will just have to use it a while and see how I feel about it. At least it doesn't take up any additional space in the shop!

UPDATE:
After about a week of use, I'd say it seems to be working pretty well. I've vacuumed off a good amount of dust from the outside of the pre-filters, maybe three times so far. I haven't taken the pre-filters off to look at the main filters yet, but I suspect they are still pretty clean. I've been doing a lot of turning and sanding this past week, and I leave the cart running while I am in the shop. There is still quite a lot of dust that settles over everything in the shop, but I do feel that the air in the shop seems a little cleaner.