
I've made several sets of runes in the past, but never documented them. My recent interest in wood turning has introduced me to more exotic wood than I had ever previously worked with, and thought that they wood make for some lovely run sets.

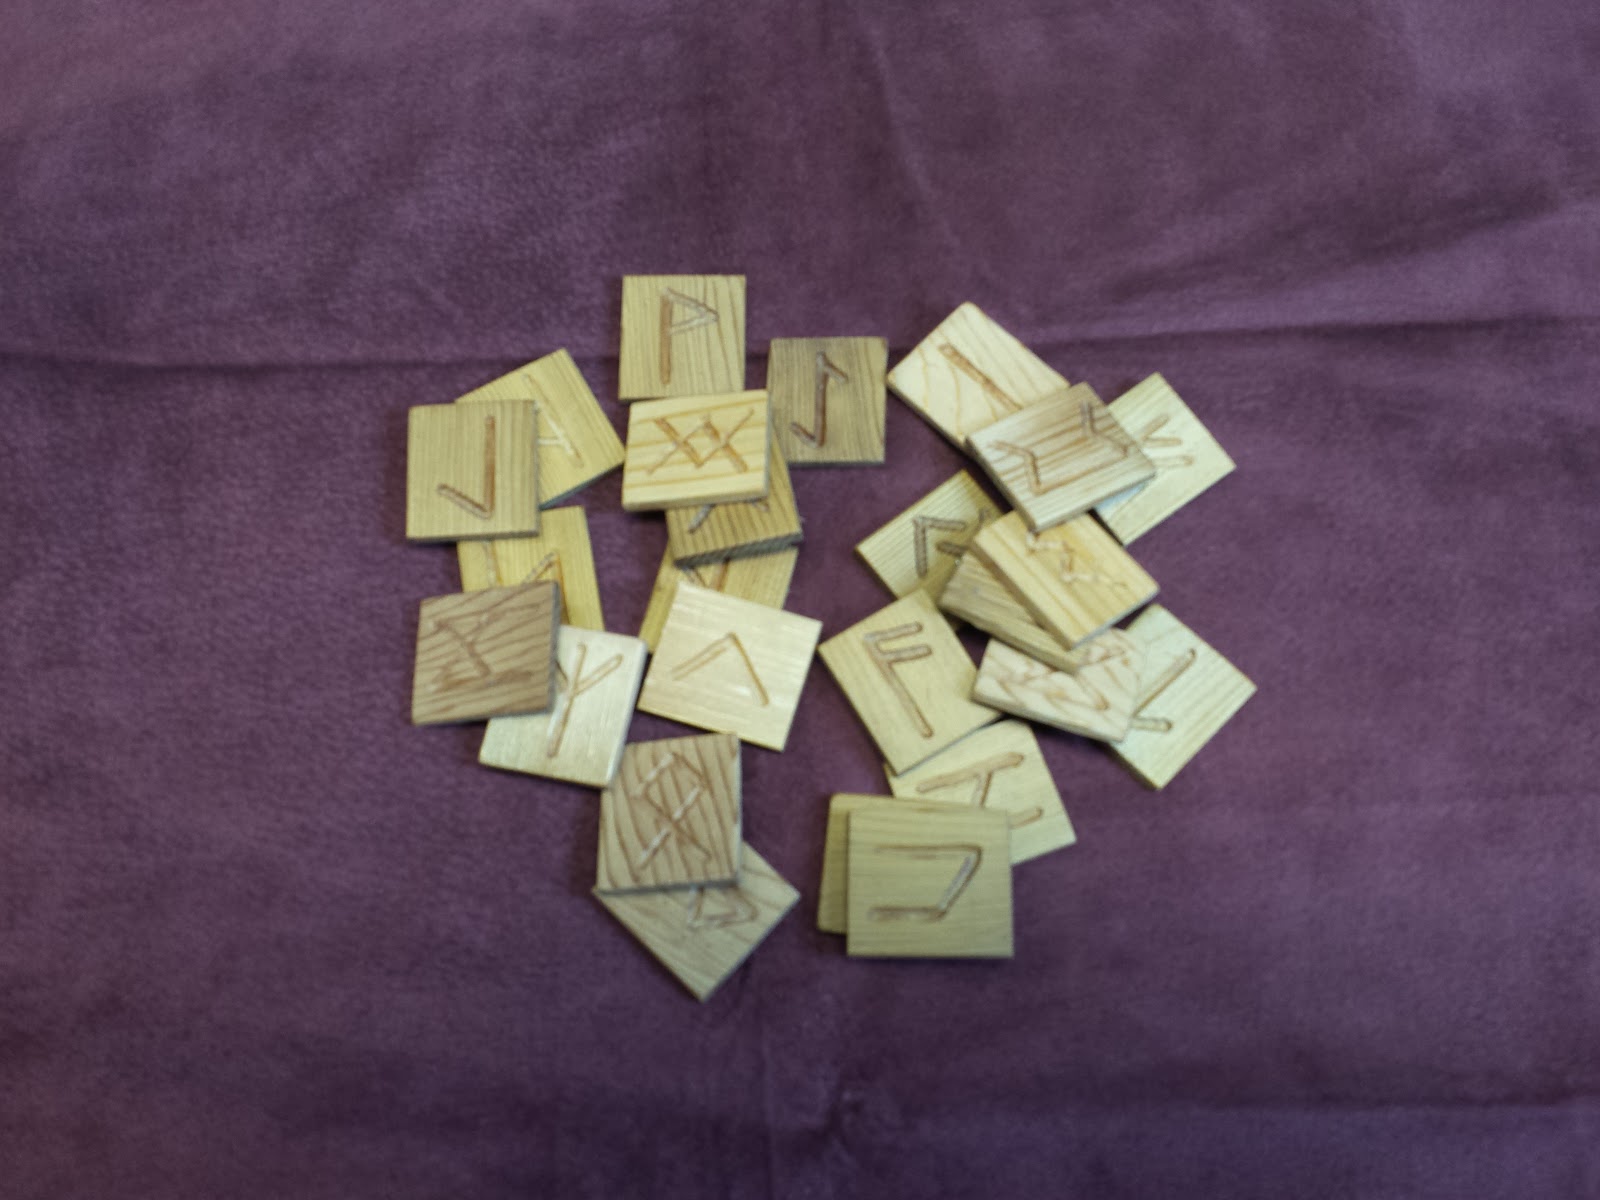
I also made sets from purple heart, genuine mahogany, and some random hardwood chits I got from the craft store. These are not glamour shots by any stretch of the imagination. They are just pics I snapped as an afterthought while I was making them.


And speaking of stone rune sets, I also made a couple of sets from river rock. I made several river rock sets, with different colored inking, but aside from the color of the symbol, they look pretty much the same, so just the one pic should suffice.

But one of my favorite sets was neither engraved nor inked. They are printed.
I have a set of tarot cards that I sell at the store, which has the meanings of the cards printed right on the face, so beginners can learn them without having to look them up in a book every time. So I thought, why not do that with runes too?


This is the same effect that I used for my pendulum boards, and that I will use on my some-day-to-be ouija board (though not the Ouija board previously featured). If you attempt to replicate this finish, it is important to note that you must use oil based polyurethane. The water based polycrylic will not soak into and darken the paper, giving it an aged and warm hue. Instead it will make the surface look plastic and cheap.
I don't know if I am the first person to make beginner runes like these, but I have never seen them anywhere. I'm rather proud of them, and think they would make a great tool for learning the runes.
As I progress with my wood turning and wood working, I now have more exotic woods to choose from, so I'll almost certainly be making more wooden rune sets in the near future.
.


The runes look really good. Especially the wood/paper ones! Great idea :-)
ReplyDeleteWhich brand oil based polyurethane would you recommend?
If at any time you should tire of the tea/coffee smell: Walnut ink crystals is what I use to age paper. Works wonders and has no smell.
I use Minwax, just because it is readily available. I don't really think brand matters much for this type of thing.
ReplyDeleteTea doesn't smell too bad, coffee is the strongest smelling, but the smell will get sealed in by the polyurethane. I do a lot of aging of paper, so I also use walnut crystals, and sometimes a little red wine or brown RIT fabric dye. I often custom blend elements to obtain a certain hue. Some are more green, some are more red. Some are a flat brown. Some are pale and tan. With something like tea, which has a lot of tannin in it, which reacts to UV light, you can adjust the color by letting it dry in the sun. But that requires some practice to finesse.