
One of the tools I covet is a drum sander. I certainly can't afford to buy a drum sander, so I considered trying to make one. I had grand ambitions, and even selected some plans to purchase to start my project, and bought a couple of the critical components. And I was almost ready to get started when I stumbled across another video that featured a much simpler solution. So simple in fact, that I wanted to smack myself for not thinking of it myself.
So here is my first attempt at building a drum sander.
I intend to use my ShopSmith Mark V as the power and the frame for the sander. So I need to build a drum and a deck which will become accessories for the ShopSmith.

I started with the drum. I like the idea proffered by Stumpy Nubs of using interchangeable drums rather than trying to peal the paper off of one drum to change the grit. So I made a drum out of very cheap and easy to use PVC pipe. I'm pretty sure I used 2 inch (inner diameter) pipe. I also made sure I used the kind with the thick walls, so that the pipe would be nice and stiff.

I turned two wooden plugs on the lathe that would fit into the ends of the PVC pipe.
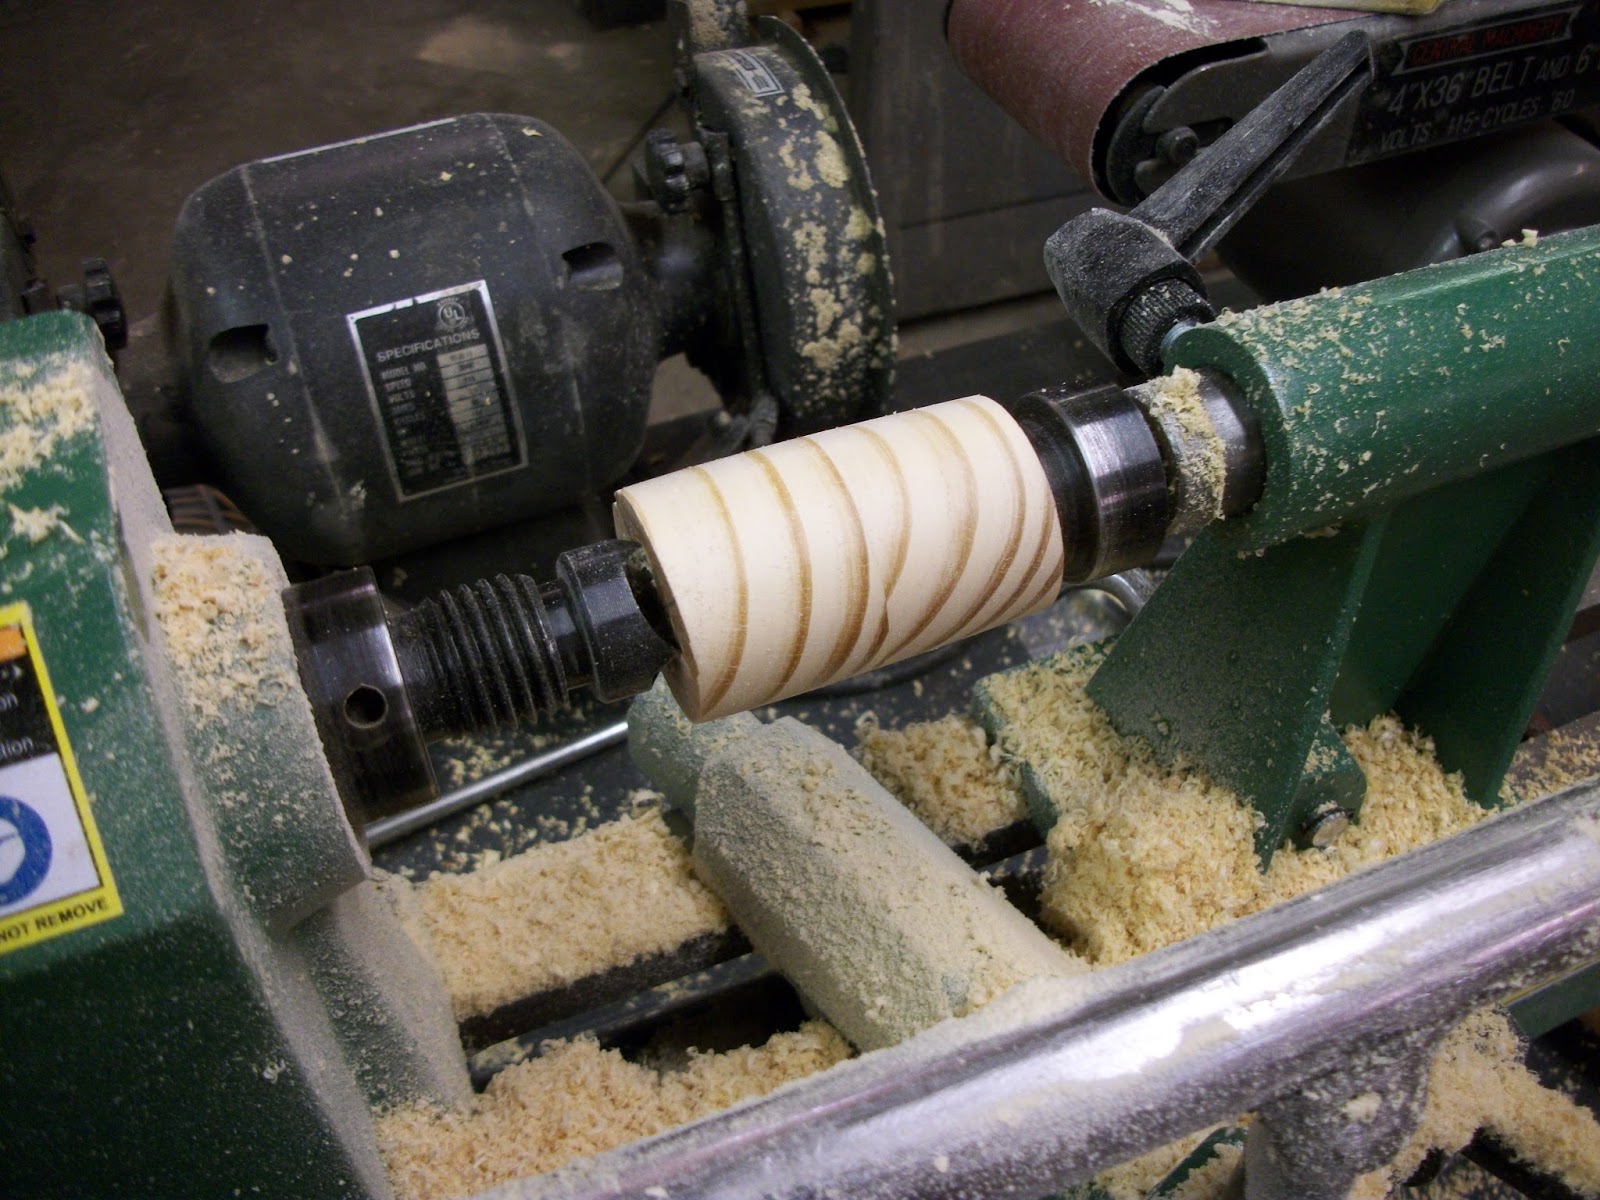
One end would have a piece of metal rod sticking out
the center of it. This rod would be gripped by my Jacobs Chuck on my
ShopSmith, which would power the sander.


The other end would have a small divot in the center, and would sit on the live center of my tail stock


The fit of these plugs was VERY snug. Still, I used a small screw to make sure it didn't spin or come loose. I had to countersink the screw head to make sure the surface of the drum stayed nice and even and smooth.

I bought a long 80 grit sanding belt on clearance for $1.75. I cut the belt and wrapped it around the pipe and held it in place with electrical tape. When I was happy with the fit, I unwrapped half of it and attached it to the pvc with spray adhesive. Then I wrapped it back up with tape to make sure it stayed put, and then I did the same to the other half, from the other end. Once glued, I wrapped it all tightly with electrical tape until the glue was good and set.


Next came the deck. I set a piece of 3/4 inch plywood on the ShopSmith to get my size and spacing.


I used a series of stacked wooden blocks and a pivot screw to create friction locks that would mount the deck to the way-tubes of the ShopSmith.


With the main deck now locked onto the way-tubes, I could start working on the tilting top deck. This would be attached to the main deck with a couple of heavy hinges at the front edge.


When in use, the top deck would be raised up close to the drum. The work piece would be slid along the top deck, under the drum, and fed through by hand (very carefully). The distance between the drum and the top deck would determine the thickness of the work piece, working sort of like a thickness planer.


To set and hold that distance, I used posts made from 5/8 inch threaded rod, and a nut. The nut sets the height by determining the length of the rod from the top deck to the main deck. The excess rod pokes down through a hole in the main deck.

The top of the rod rests in a little pocket on the underside of the top deck. It is made from hardwood (oak) and reinforced with a metal washer, so the rod doesn't wear away at the top deck. In these pictures you see me using two rods. I thought this would give me greater stability, but it just made it impossible to adjust the deck height evenly, so I later switched to just one rod set in the center.


Here is the finished sander. It is crude, and may need some refining, but it does function. I need to make some adjustments to get the top deck to rest perfectly parallel to the drum, so it sands perfectly evenly all the way across. I think that will involve putting some thin shims under one of the hinges, but I haven't got that far yet.


I also think I'm going to double up the material on the top deck to make it stiffer. I thought 3/4 inch plywood would be stiff enough, but with only one support in the center, I am now getting a little bit of flex across its width. That might also be caused by some play in the hinges, though they are about as tight as I could hope for. Maybe I should replace them with a length of piano hinge. I will update when I get it all tweaked.


Absolutely incredible work! Astonishing to be honest, I've never seen or heard about a DIY drum sander. Great (and most importantly - working) result at the end. Drum sanders are getting less and less expensive as the years go on though, depending on their sanding capacity of course. You can get some small ones for stunning prices, have a look at this guy's comparison and opinion on the best drum sanders if you have the time. I wouldn't mind buying your DYI solution if it was up for sale though, I'd love to get a ballpark price for it! Thank you and I'll be waiting.
ReplyDeletenot for sale, and unless you have a shopsmith, or a decent sized lathe, to power it, it wouldn't do you much good.
ReplyDeleteDang it, “Nothing travels faster than the speed of light with the possible exception of bad news, which obeys its own special laws.” - The Hitchhiker’s Guide to the Galaxy
ReplyDeleteThank you for the quick response anyway Marx, I'll keep an eye out for more of these very interesting DIY projects.