


My first load of logs was of Ash. They are the ones way at the bottom of the pile, with painted ends. Many of them were small enough that I could turn them on the lathe without any other processing. But some would need to be cut in half on the band saw and then made into bowl blanks. Because they needed minimal processing, and there didn't seem like that many of them, I was in no hurry to do much with them. So, I just stacked them up by my shed to let them dry out. I did paint the end grain to try to cut down on checking.
Next came a much bigger haul of Ailanthus (Tree of Heaven). Those are the ones on the right side of the pile. This wood was very green. It had only been cut a few days before. Ailanthus is not a particularly attractive wood, and it is known for splitting badly as it dries. So there is a very good chance most of this wood will be just for practice. We'll see. Still, free wood is free wood. I had never really dealt with storing logs for turning, so I watched a few YouTube videos and they told me that as soon as possible, I needed to split the wood in half to prevent splitting from tangential shrinkage. I did what I could on the band saw, but most of the logs were far too big, so I had to acquaint myself with the usage of a chain saw.
I started rough turning bowl blanks out of some of them (which I shall have a video of sometime in the future), but didn't get far before I got distracted by another offer of free wood. This time, it was a beautiful haul of aged cherry!


When I got the bark off of one particular piece, I saw something very exciting. This undulation in the wood is caused by the wood fibers being under compression as the tree grows (usually because of the weight of a heavy limb). In woodworking it creates what is called compression figure, or curl. It causes the wood grain to take on a tiger stripe like chatoyance, which is highly prized.


Very shortly after acquiring the cherry logs, I found a deal on Craig's List for a Harbor Freight 12" planer that I couldn't pass up.

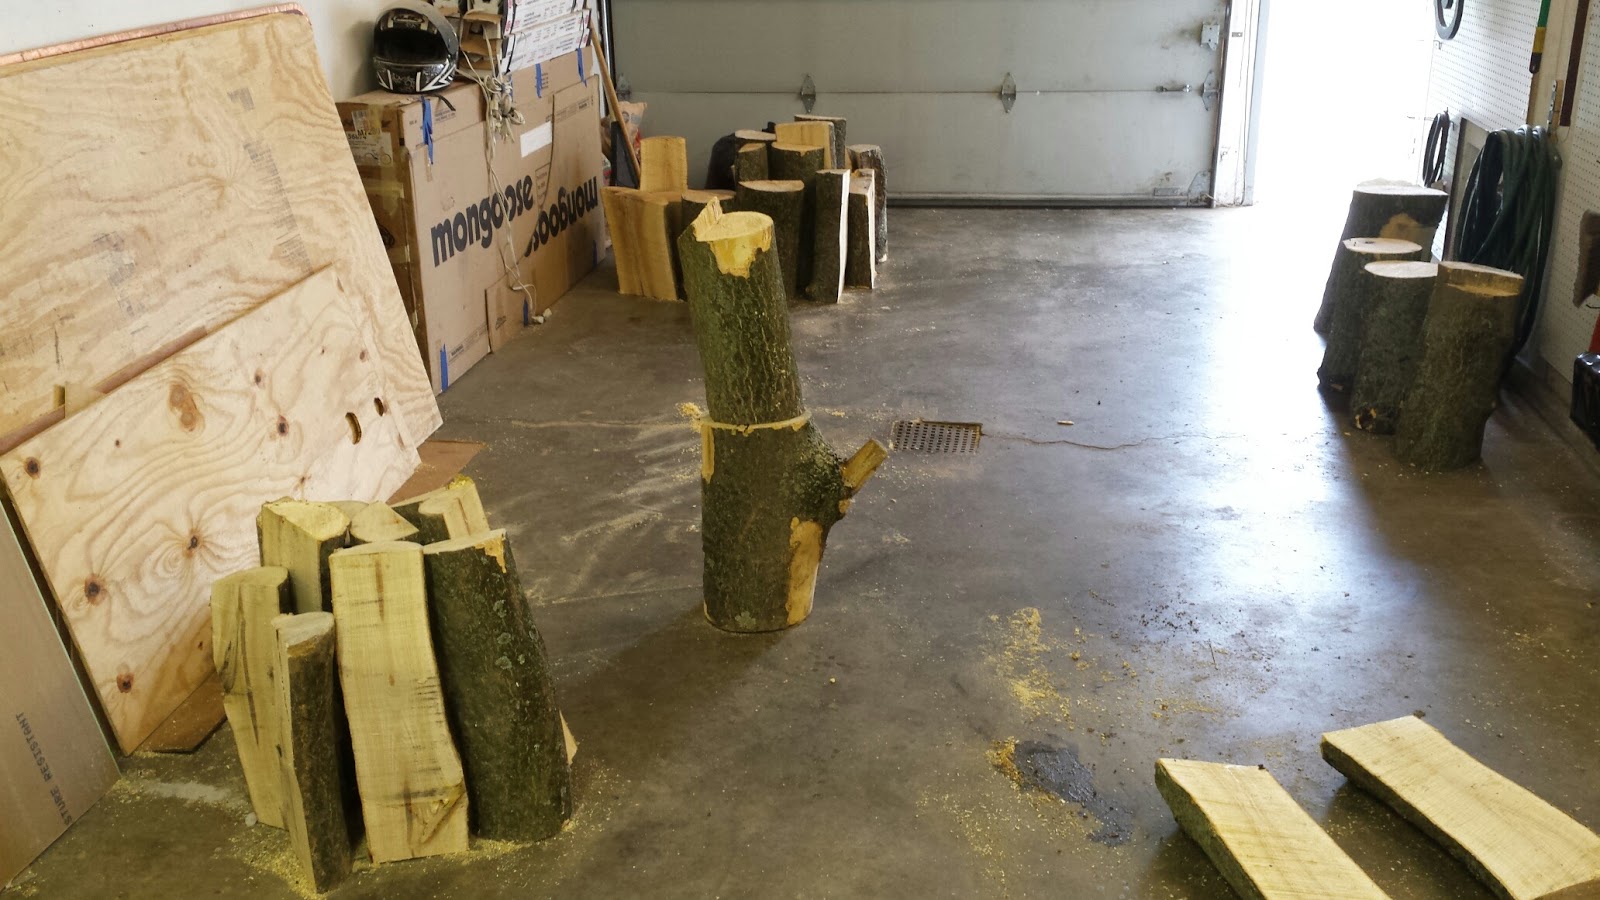
Having a planer opens up new possibilities for me. For one, it will allow me to properly mill up some of these logs into cants and boards, not just bowl blanks and staves. Step one, however, was still to try to trim them down on the band saw. This time, I tried just slicing off the edge to get a flat surface.


These were the first boards I have ever milled. I think they look awesome. They are a little over 2" thick, which is plenty for just about any project I can think I would use them for. I can rip them down into 2x2 spindle blanks for the lathe, or I can resaw them into thinner boards for other woodworking projects. For now, I will just stack them and let them dry out some more. I plan to do this with most of the cherry logs. I will use just a few for bowl blanks and mill the rest.
Having never used a planer before, I did not know how fast they create shavings. I had mine hooked up to a large Ridgid shop vacuum, and after planing maybe six or so boards, the planer started acting funny, spitting shavings out the front and not cutting smoothly. I checked the vacuum and this is what I found!


The elm logs are the large un-split ones on top of the cherry, and on the ground, and on top of the Ailanthus in the first pic. I managed to mill up boards out of two or three of the elm, and cherry logs, and I've cut a few of the ailanthus into bowl blanks. There's a lot more than what is shown here. The cherry boards I think look particularly good. They have some nice color to them already. I am, however, having a problem with mold growth on the faces of the boards as they are stacked to dry. I'm working on that.


This process is seriously taxing my band saws, and my patience. It is kind of fun but it is also frustrating and tedious (and dangerous). To try to make straighter cuts and help keep the irregularly shaped logs oriented while they go through the band saw, I built a simple sled. It has a rail on the bottom that goes in the miter track on the band saw table. It has a back stop and a side wall to rest the log against. I can run screws through either the side wall or the back stop (or even up through the floor of the sled) in order to keep the log in place.


As you can see from the pics, I use 2x4s as spacers between the log and the side wall. This is how I position the log, in respect to the blade, for each cut. After each cut, I can just add another 2x4 spacer between the side wall and the log and that will set me up to cut off another 1.5" slab. I built the sled a little too wide. I end up using a spacer even at the beginning. Any log that would fit up against the side wall without a spacer would be too big for the resaw capacity of my band saw.
I did figure out a trick that can give me just a little bit more capacity for those awkward initial cuts where I'm trying to make the round log more square. I can tilt the saw table up to 45 degrees to allow me some more clearance for cutting off the round edge of a log. The rail on the bottom of the sled will help hold everything on the table without slipping.
Still, my band saws are not really up to this task. If I intend to continue doing log milling I think I am going to have to build some kind of chainsaw mill. But that's a project for another post ;)
I've been collecting wood, recently, faster than I can process it, so I think I will have to slow it down for a bit. I am running out of room on my wood pile anyway. And now I have LOTS of milling splitting and rough turning to do in order to process what I already have.
Still,... free wood!


Very cool. Thanks for sharing.
ReplyDeleteFree wood is the best wood :-)
ReplyDeleteIt is amazing what some people throw away or use as firewood.
I got so much exciting wood from cut down garden trees. Stuff that I would would never be able to obtain commercially.
Always exciting finds!