
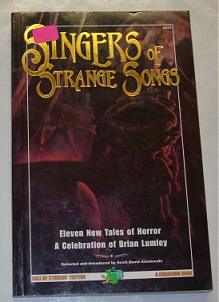
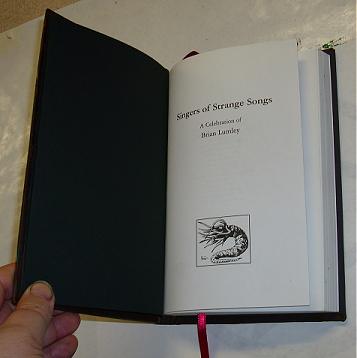
This is the book that I started out with. A new copy of "Singers of Strange Songs". It is a collection of horror fiction stories that celebrate the author Brian Lumley. It is published by Chaosium, and is part of their Cthulhu Cycle series of titles. It is a soft cover book, about 8.5 x 5.5 x 0.5 inches.
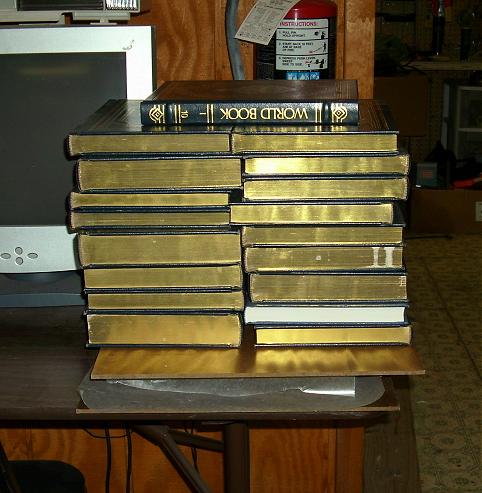
It is important to put the item in a press when gluing, to prevent the paper or boards from warping as the glue dries. This needs to be done at each stage. I don't have a press, so I use a couple of sheets of hardboard and a stack of encyclopedias for weight. Don't forget to use sheets of waxed paper to keep the glue from sticking to anything else.
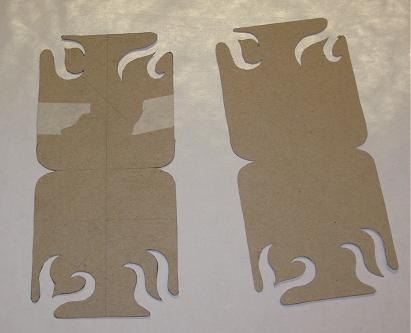
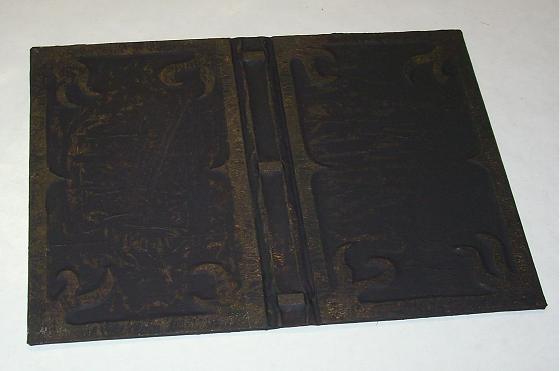
Once the main boards were laid out, I cut out other detail pieces from chipboard. These will create a sort of frame around the border of the cover. Because of the kind of finish I had in mind, I decided to glue these on to the boards before covering the whole thing with paper. Putting them on afterwards, would have given a different look, but would have also looked good. Here is a pic of the left over bits from cutting out the design pieces. I had already glued and covered the actual pieces before getting out the camera. I glued the borders on front and back, and also added some small strips to create bands along the spine. Then the whole thing goes back under the encyclopedias to dry.
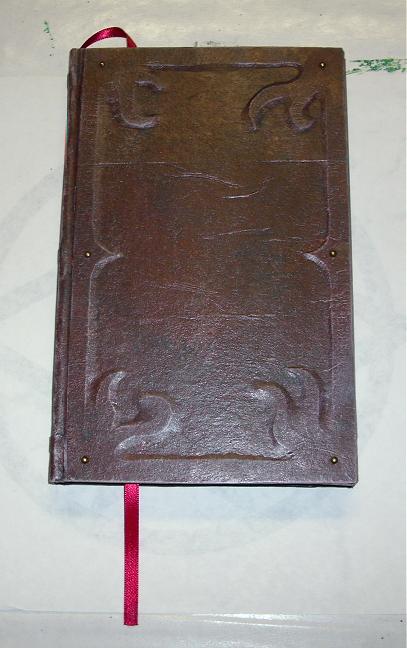
The next step was to cut the underlying watercolor paper to the proper size, and wrap the whole thing with brown paper and matte medium. This is the same technique I used on the Pentagram Journal. After that was allowed to dry under the press, I gave the whole thing a base coat of black tempura paint. I don't usually use tempura, but I was running out of black acrylic, and I knew I was going to be painting over it anyway. Here is a pic of the whole thing, wrapped, painted with the black base coat, and dried.
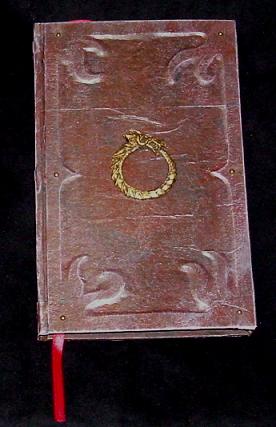
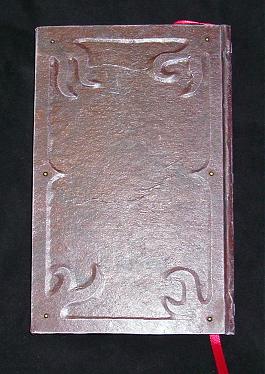
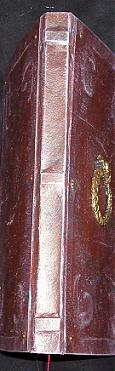
Next, I used a sea sponge to paint the cover with dark red acrylic paint. I left some of the black show through to give the final finish depth. Then I dry brushed the cover with brighter red and silver, to highlight the edges of the relief and the veins in the paper, just like I did with the Pentagram Journal. This is also about the time that I glued a red cloth ribbon to the inside of the spine, which will serve as a bookmark.


Then I glued the original paperback book into the new cover, just like I would if it were the text block of a book I was making from scratch. I treated the original soft cover as if it were the mull on the text block. I did have to sand the gloss off of the soft cover and trim down its edges a bit, or they would have came too close to the edge of the new cover and looked bad. In future books, I will trim this back even further. I needed to bury the soft cover and hide its edges under new end papers, which I made out of black card stock. Again, don't forget to put your book in the press at each stage where you have glue drying.
Before gluing in the end papers, I decided to add some additional decoration in the form of brass rivet heads. I used brass wire brads for this. Using an awl, I poked pilot holes through the cover in strategic places and pushed the brads through, giving each a tiny dot of superglue as it went through. Then I pulled it tight from the bottom side with needle nose pliers, and after the glue has a chance to set, I clipped off the excess from the underside. I gave it a quick grinding with the Dremel tool to make sure it was perfectly flush, so they wouldn't create bumps through the end papers.
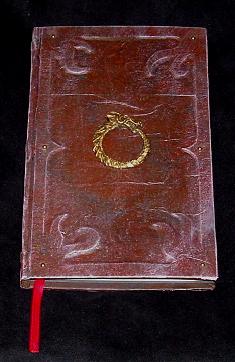
As a final touch, I added a cast resin embellishment in the form of a dragon ouroboros. This I had pre-painted in an antique brass finish. This was cast from the same mold as the one used on the Tarot Box. Actually, this is the same finish I usually call bronze, maybe a little on the bright side, but it matches the tarnished brass tack heads almost perfectly, so we'll call it a brass finish for this project ;)
So that's it. I hope you enjoyed this rather wordy tutorial, and I hope you like the final product. I plan on making quite a few more of these kinds of hard cover mods over the next few months. I have a lot of books and gaming supplements that could benefit from this kind of treatment.


Great idea. I have a couple of used Chaosium fiction books and beat-up Call of Cthulhu rpg books that I could use this process on. Thanks!
ReplyDelete